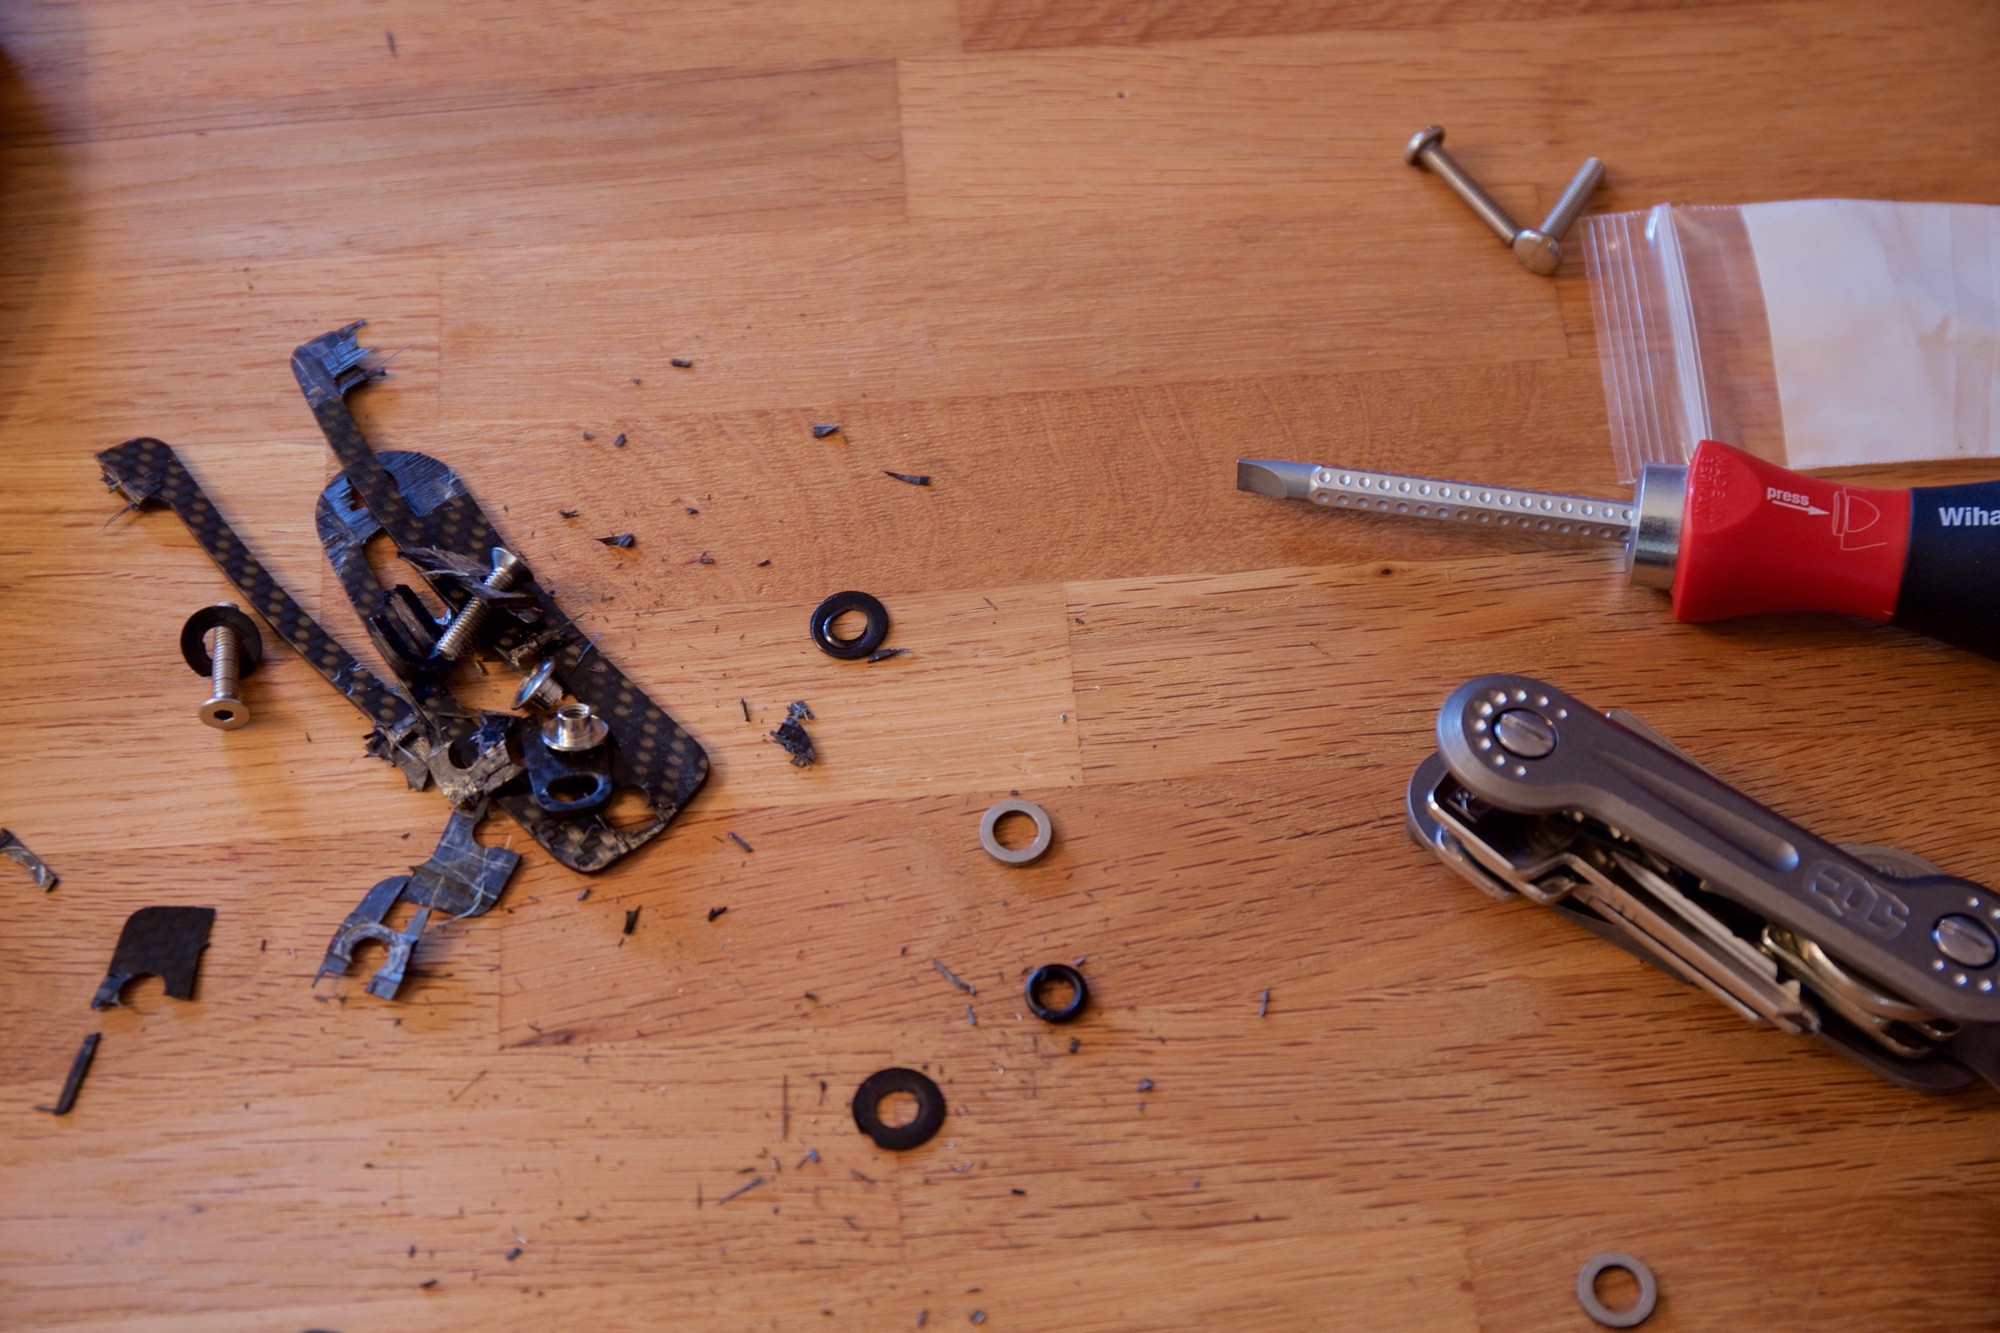
Starting point
Some years ago i started building a home network around a Synology DS214 NAS/media server and upgraded my WLAN to an Asus RT-AC66U, added a managed LGS308 switch and a PLC connection to connect the media rack. Overall that served me well and the level of hardware/software integration felt quite ok.
While i would rate that setup as quite sophisticated for its league, it became evident that my home network was a mess with regards to fault tolerance and actually very consumer’ish in its topology. There are those typical drawbacks that you’re used to live with as a consumer at a rental home without structured wiring. For example the WLAN Access Point had to be located close to power outlets and the VDSL modem which had to be close to the landline socket. In my case that meant the APs placement was really lousy in terms of radio signal. Adding better antennas and tweaking the firmware (dd-wrt rocks!) was a workaround but certainly not a solution. Updating some router settings essentially brought down all network communication since the AP/Router/Switch services run on a single box. Meh.
Running all these services (DNS, Web, Mail, RADIUS, File…) on one small box that was originally meant to stream some media was a clear single point of failure. The ecosystem around Synology is really nice for a NAS manufacturer, however it’s based on highly customized, sometimes outdated and restricted versions of the original services. They clearly address the consumer space with their smaller boxes, which means neither virtualization, hardware-accelerated encryption or ability to upgrade without dumping the whole system.
The plan
So i took some time and planned a “what if…” scenario of rebuilding my home IT infrastructure with taking the known constrains into consideration. As for networking equipment I learned about Ubiquiti Unifi some years ago and was quite interested in its positioning with regards to software-defined networking at a very compelling price-point. Now i finally had a chance to start playing with it.
Since i was not just re-doing the network part but essentially my whole home IT, i started to think about options for growing needs in terms of services, bandwidth and media consumption (like 4k). It was clear that upgrading to a more powerful NAS would not cut it from a performance standpoint neither when looking into how painful “real” custom service configuration was. At the same time i like to keep critical data closeby. The logical conclusion was to look for some “real” server metal.
That immediately bought up the problem of where to put all that stuff. I do like tech but at the same time i don’t want my home to look like a radioshack dump. Long story short, i obviously needed a rack to put all these new gadgets. 19” gear takes quite some space but can be managed so much easier than all those different form-factor devices. On top i could simply move the rack in one piece when relocating and would essentially contain my IT playground.
After some iterations the plan was quite clear to me:
- Replace the existing consumer hardware with 19” stuff
- Look for entry-level enterprise gear
- De-couple wireless network access and actual infrastructure
- Put all this to a rack
Hardware
Server
After some looking around i decided to go DIY on the server since most “serious” servers are total overkill and simply not designed to run quietly in a residential home. Those home-servers on the other hand were simply not powerful nor redundant or really upgradable. Having a history of building machines for some times the shopping list assembled itself fairly quickly:
- Intel Xeon E3-1260L CPU
- Asus P10S-I mainboard
- 32GB DDR4 memory
- Noctua NH-L9i fan
- Samsung SM951 M.2 SSD
- 3x WD RED 4TB HDD
- Seasonic SS-300M 1U PSU
After completing the build it turned out that the 1260L is a bit oversized for my needs, the 1240L would have done the job just as well. Anyway, some extra max core speed won’t hurt.
Rack & Case
I planned to put the rack beneath my desk, an area that always felt like unused space. At the same time that severely limited my options in terms of depth since i still had to sit there. Luckily i found a vendor that offered both short racks and small DIY server cases:
- Cablematic RackMatic 9U WK13
- Cablematic RackMatic 2U CK91
The downside is shipping it from Spain which makes it a bit pricey but still far below the typical premium for a assembled system. The build quality and utility is not on-par with professional racks like Rittal, but for the price you get some really good stuff.
Network
So here i was looking for a medium size home network with about 15 wireless and 10 wired clients and the “want” to centrally manage all this. Having looked into the Unifi universe, my Ubiquiti shopping list read like this:
- Unifi Security Gateway Pro (“USG”)
- UniFi Switch US-16-150W (“USW”)
- UniFi AP AC PRO (“UAP”)
Compared to the switch, the USG does not seem to speed down its fans after starting, which makes it terribly loud. This is a minor and fixable downside but disappointing that Ubiquiti did not do it right for two components of the same product range. Therefor i had to replace the cheap 40mm fans at the USG with one Noctua NF-A4x10 FLX. Airflow may suffer but the box runs stable and thermal monitoring shows acceptable values.
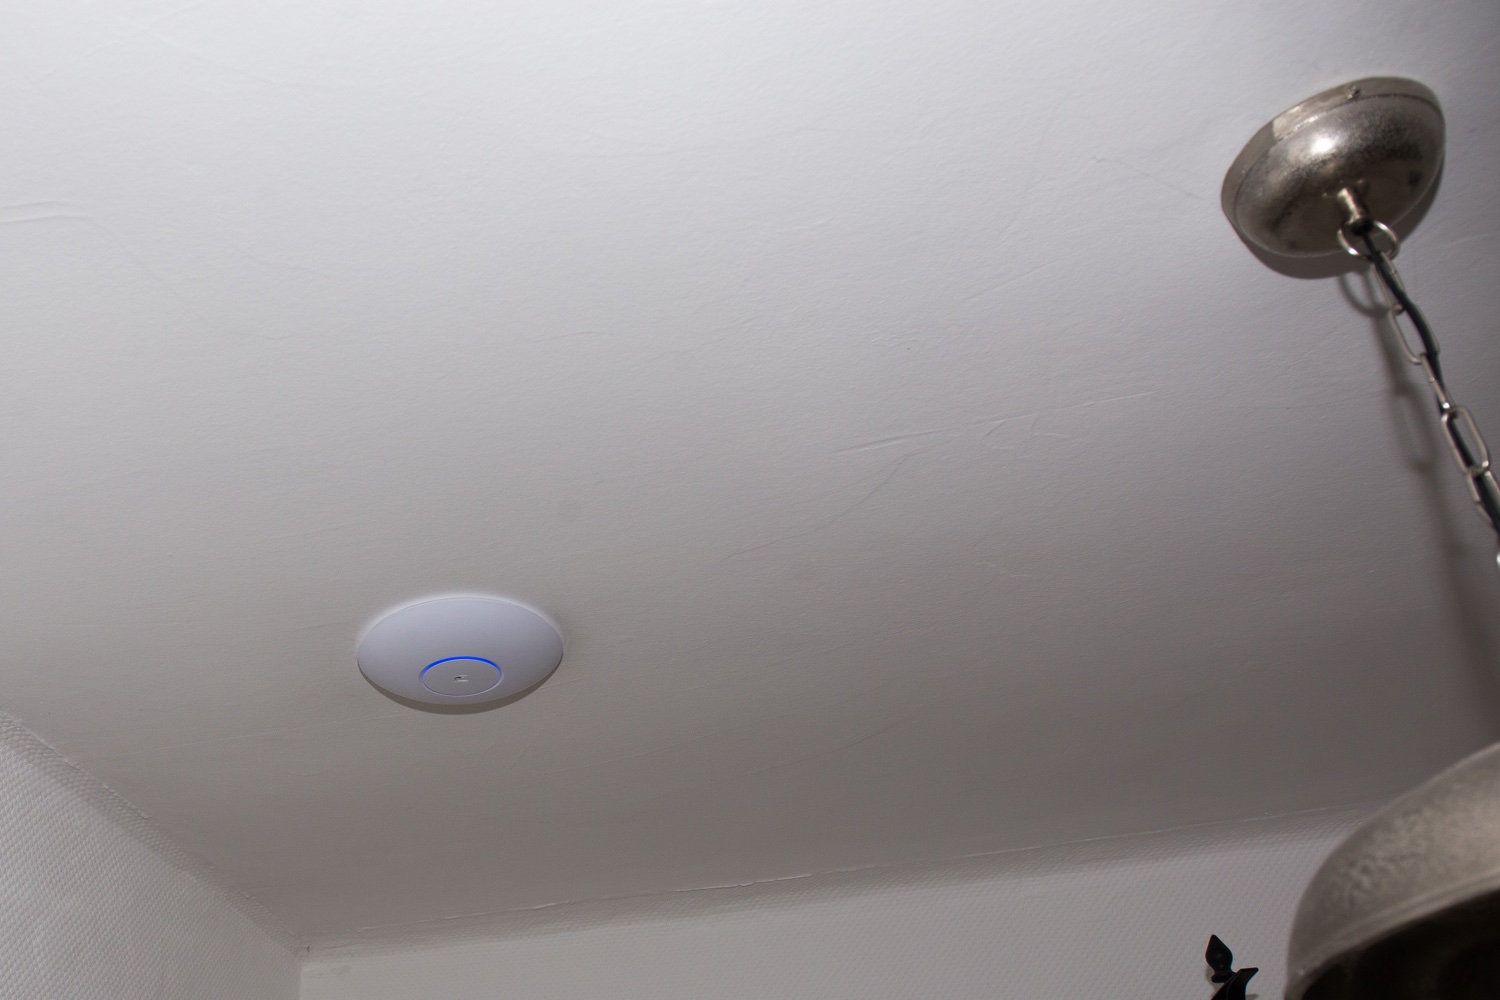
By using a bit of creative wiring the Access Point could get positioned almost perfectly at the center of the apartment, being powered using PoE, while the rack with all the other hardware could be placed in a more discrete place. Whats left to add was a simple 19” VDSL router (that should only serve as a modem to the USG) and a VoIP DECT phone base station which gets powered by PoE as well.
- ZyXEL SBG3500 (VDSL)
- Panasonic KX-TGP600
Power
Power outages luckily are quite rare in my area and maintenance usually happens at night. However that would introduce some issue with having a always-on server with a unbuffered RAID. Therefor i’ve chosen a UPS that handles about 15 minutes of autonomy before the server shuts itself down automatically. Having PoE capable hardware also allows to continue WLAN and DECT connectivity during that time.
- Eaton Ellipse Eco 650
The total power consumption of the rack at normal operation is 75W. Interestingly enough the network equipment accounts for more than half of that, i’d expected the server to use much more than 30W.
Putting all this together got me this nice 9 U rack setup: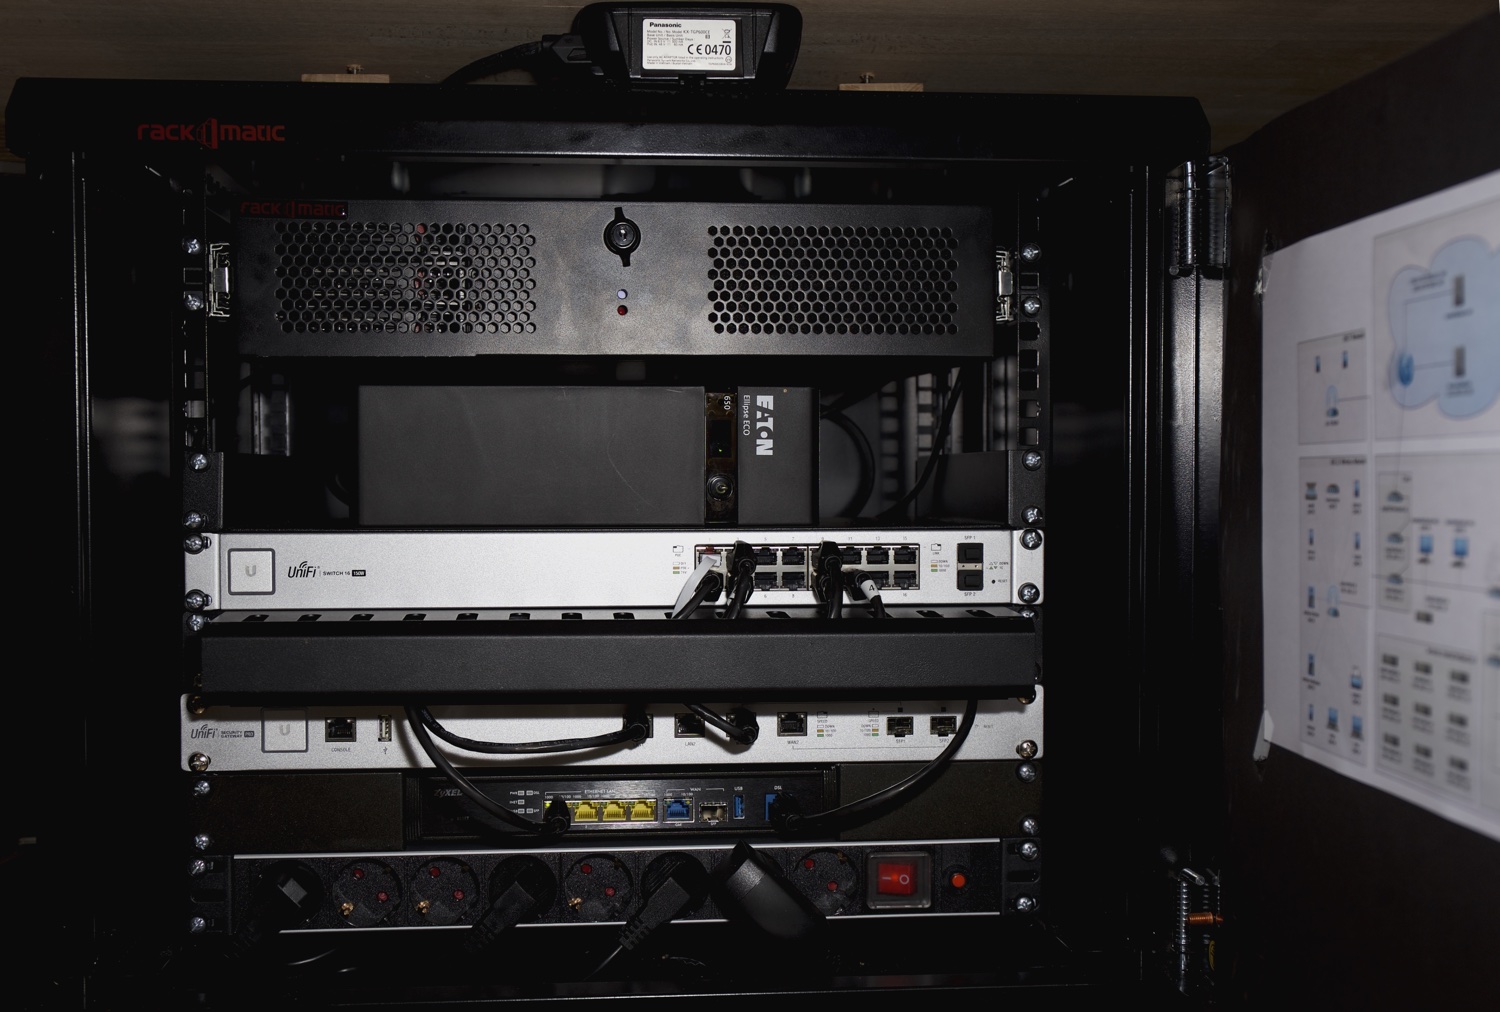
Software
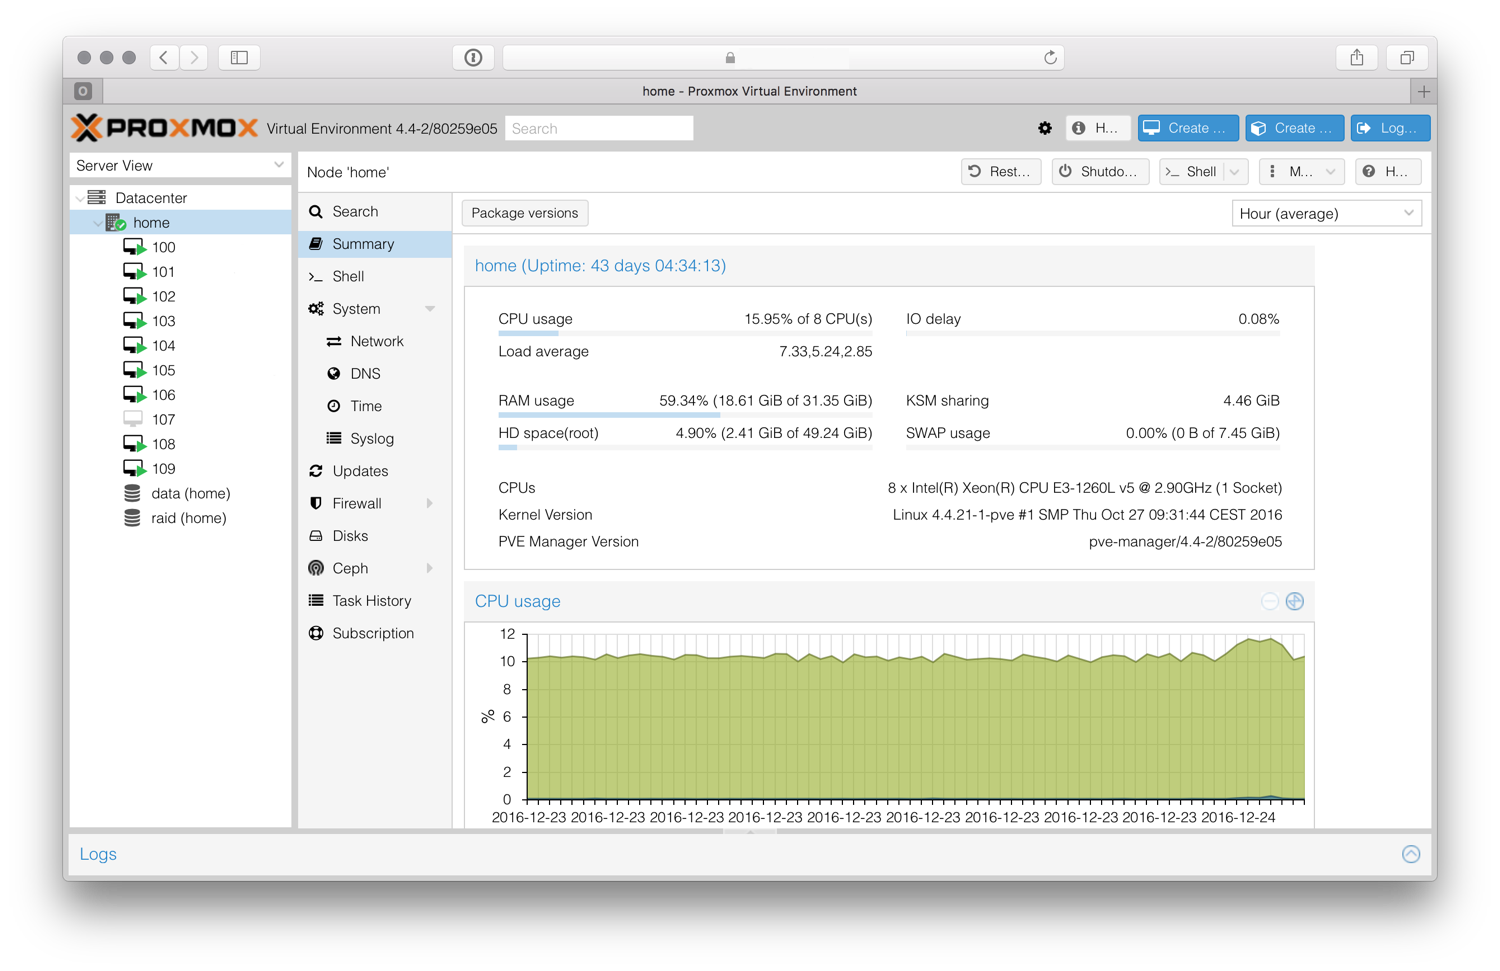
To put the server to optimal use i decided to run Proxmox VE as virtualization environment and a encrypted Linux MD software-RAID 5 configuration with LVM to store the VM images. Off-site backup was done using SpiderOak at first but switched to good ol’ rsync later due to reliability issues with their proprietary software.
For management and storage i looked into OpenStack and Ceph first but got turned off by the infrastructure needs, such a solution is quite nice but obviously oversized to run like 10 static VMs. Speaking of VMs, i separated the services in a way that each machine can got to maintenance without affecting other services too much:
- Unifi Controller
- Authentication (LDAP, RADIUS, oAuth2)
- Web (Proxy, Webserver, Git)
- Nameserver (PowerDNS)
- Log/Monitoring (Splunk, Sensu)
- Mail (Dovecot, Postfix, OX App Suite)
- Files (Samba, Serviio, netatalk)
- VPN (OpenVPN)
- VoIP (3CX PBX)
Getting into the detail of the software part would certainly exceed the scope for now. Be assured that setting all this up took almost a week but finally i’ve my manageable, scalable and reliable home network environment :)